Design Custom Flashcard Graphics for Articulate Rise in Canva
How to Create Custom Flashcard Graphics for Articulate Rise
Have you ever created an Articulate Rise course that felt… just a little bit 'template-y'? I’ve been there.
Rise is incredible for speed and clean design, but sometimes you just want that extra spark of custom branding.
A common pain point I hear from fellow e-learning developers is trying to make standard Rise blocks look unique without investing in expensive software (like Photoshop) or knowing complex HTML/CSS.
One of the most effective ways to customize a Rise course is by replacing standard images in interactive blocks.
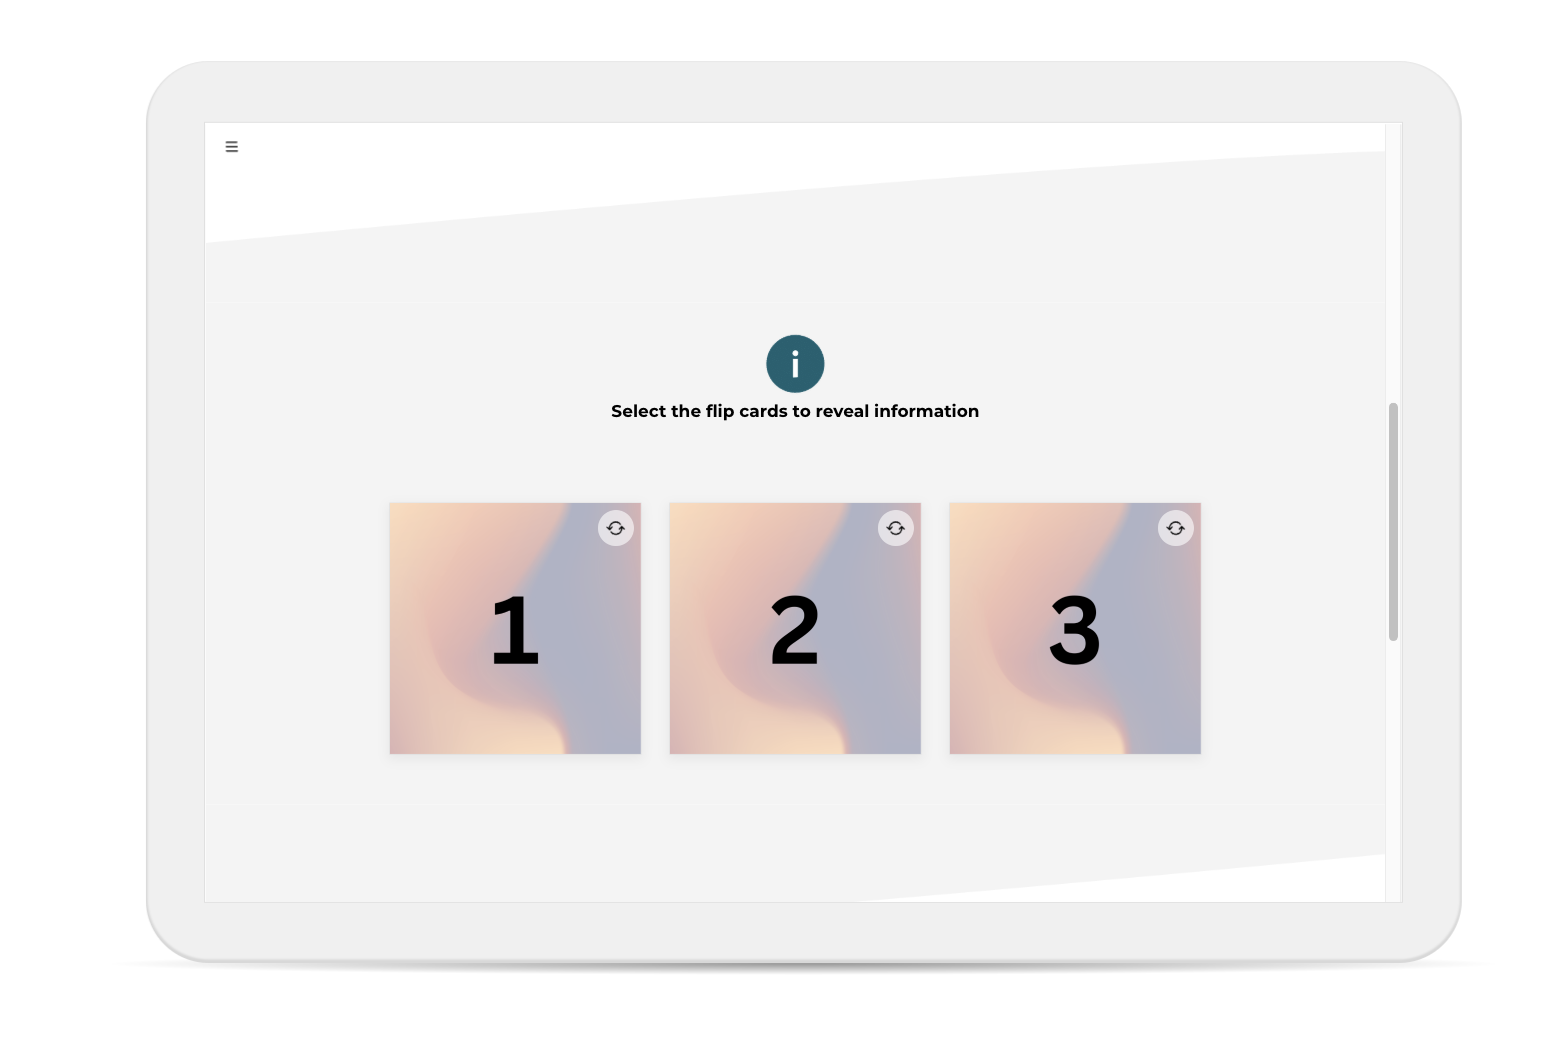
Today, I’m going to show you exactly how I created custom graphics for the Rise Flashcard Grid block, resulting in the sleek look you see in the screenshot below.
The best part? You can do this entirely with a FREE Canva account! (No Pro required).
Why Custom Graphics for Flashcards?
The default 'front' of a Rise flashcard is usually either text or an 'Image' placeholder. When you add a plain image, it can look tacked-on.
By creating custom graphics as the image, you gain control over:
Strict Branding: Match your organisation’s colour palette perfectly, using gradients, patterns, or icons.
Visual Consistency: Ensure every card looks unified (e.g., matching the same modern number font).
Aesthetic Polish: Achieve that professional, "custom-coded" look, like the soft gradient blur shown above.
Step-by-Step: The Canva Workflow (Free Account)
Lets walk through each step here to create your own custom flashcard in Canva:
-
You need to know the optimal image dimensions for Rise flashcards. Rise handles images best when they are square for the grid view.
Go to Canva and click 'Create a design'.
Select 'Custom size'.
Enter 500 × 500 pixels. This is a good, crisp size that won't bloat your course file size.
-
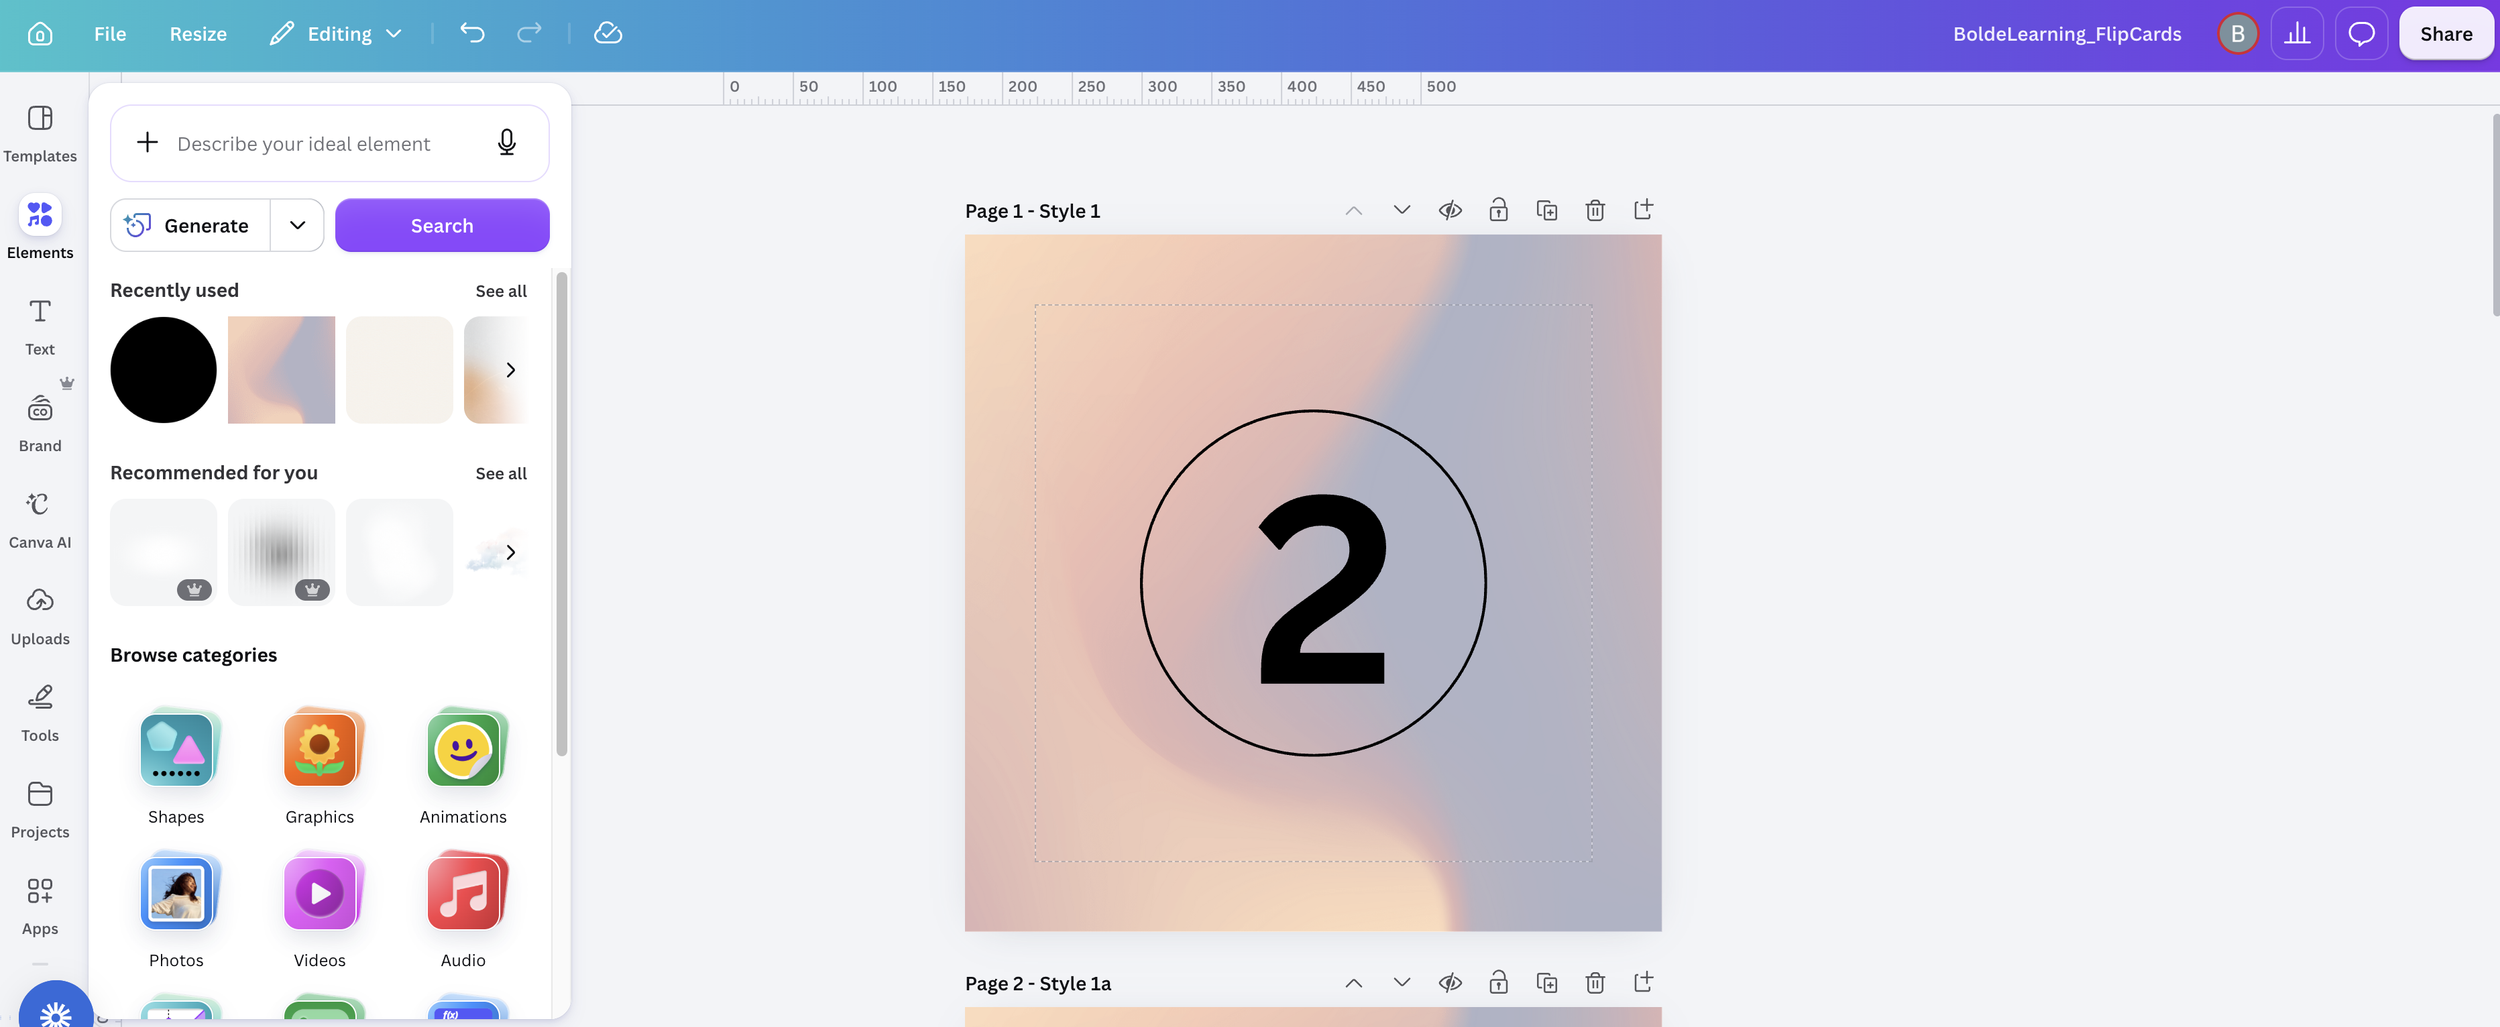
This is where the magic happens. Let's recreate that gradient look:
Set Your Background: Go to 'Elements' in the left menu. Search for "Gradient blur" or "Modern gradient". Choose a graphic that fits your brand (ensure it's one without the 'Pro' crown icon). Drag it to fill your canvas. In the screenshot, we used a soft peach-to-slate blue transition.
Add Your Content: Rise automatically centres large text, but adding your text/numbers within the graphic gives you font control. Search 'Elements' for a clean number icon, or simply add a text box and use a modern, clean font (like 'Montserrat' or 'Open Sans'). Place a large, centred 1.
-
Don't start from scratch for cards 2 and 3!
Duplicate Your Page: Above your current design, click the small icon that looks like two stacked squares with a plus sign (Duplicate page).
Edit Page 2: In the second page, simply double-click the '1' and change it to a '2'. The background gradient and positioning stay exactly the same, ensuring visual alignment.
Repeat: Duplicate Page 2 to make Page 3, changing the text to '3'.
-
Click 'Share' (top right).
Click 'Download'.
File Type: Choose PNG (better for graphics/text than JPG).
Select Pages: Make sure "All Pages" is selected, then click 'Download'.
Canva will download a ZIP file containing your three perfectly sized, matched graphics: 1.png, 2.png, and 3.png.
Putting it Together in Articulate Rise
Now, let's look at how to get this into your course to look like the preview:
Add the Block: In your Rise course editor, click "All Blocks" > "Interactive" > Flashcard Grid.
Edit the Block: Click 'Edit' on the new block.
Upload Card 1: On the first card settings, switch the "Front" from "Text" to Image. Upload your "1.png" file.
Define the Back: The back of the card is for your deep content. Add your descriptive text (e.g., "Step 1: Onboard your team..."). You can even leave the 'Back Image' blank if you just want text on the back.
Repeat: Repeat for Cards 2 and 3.
Style Setting (Pro Tip for that white header): In your Flashcard Grid block 'Settings', check the 'Theme' color. In my screenshot, the background is white, but the cards (our graphics) provide the color. Make sure your card borders or block background are set appropriately.
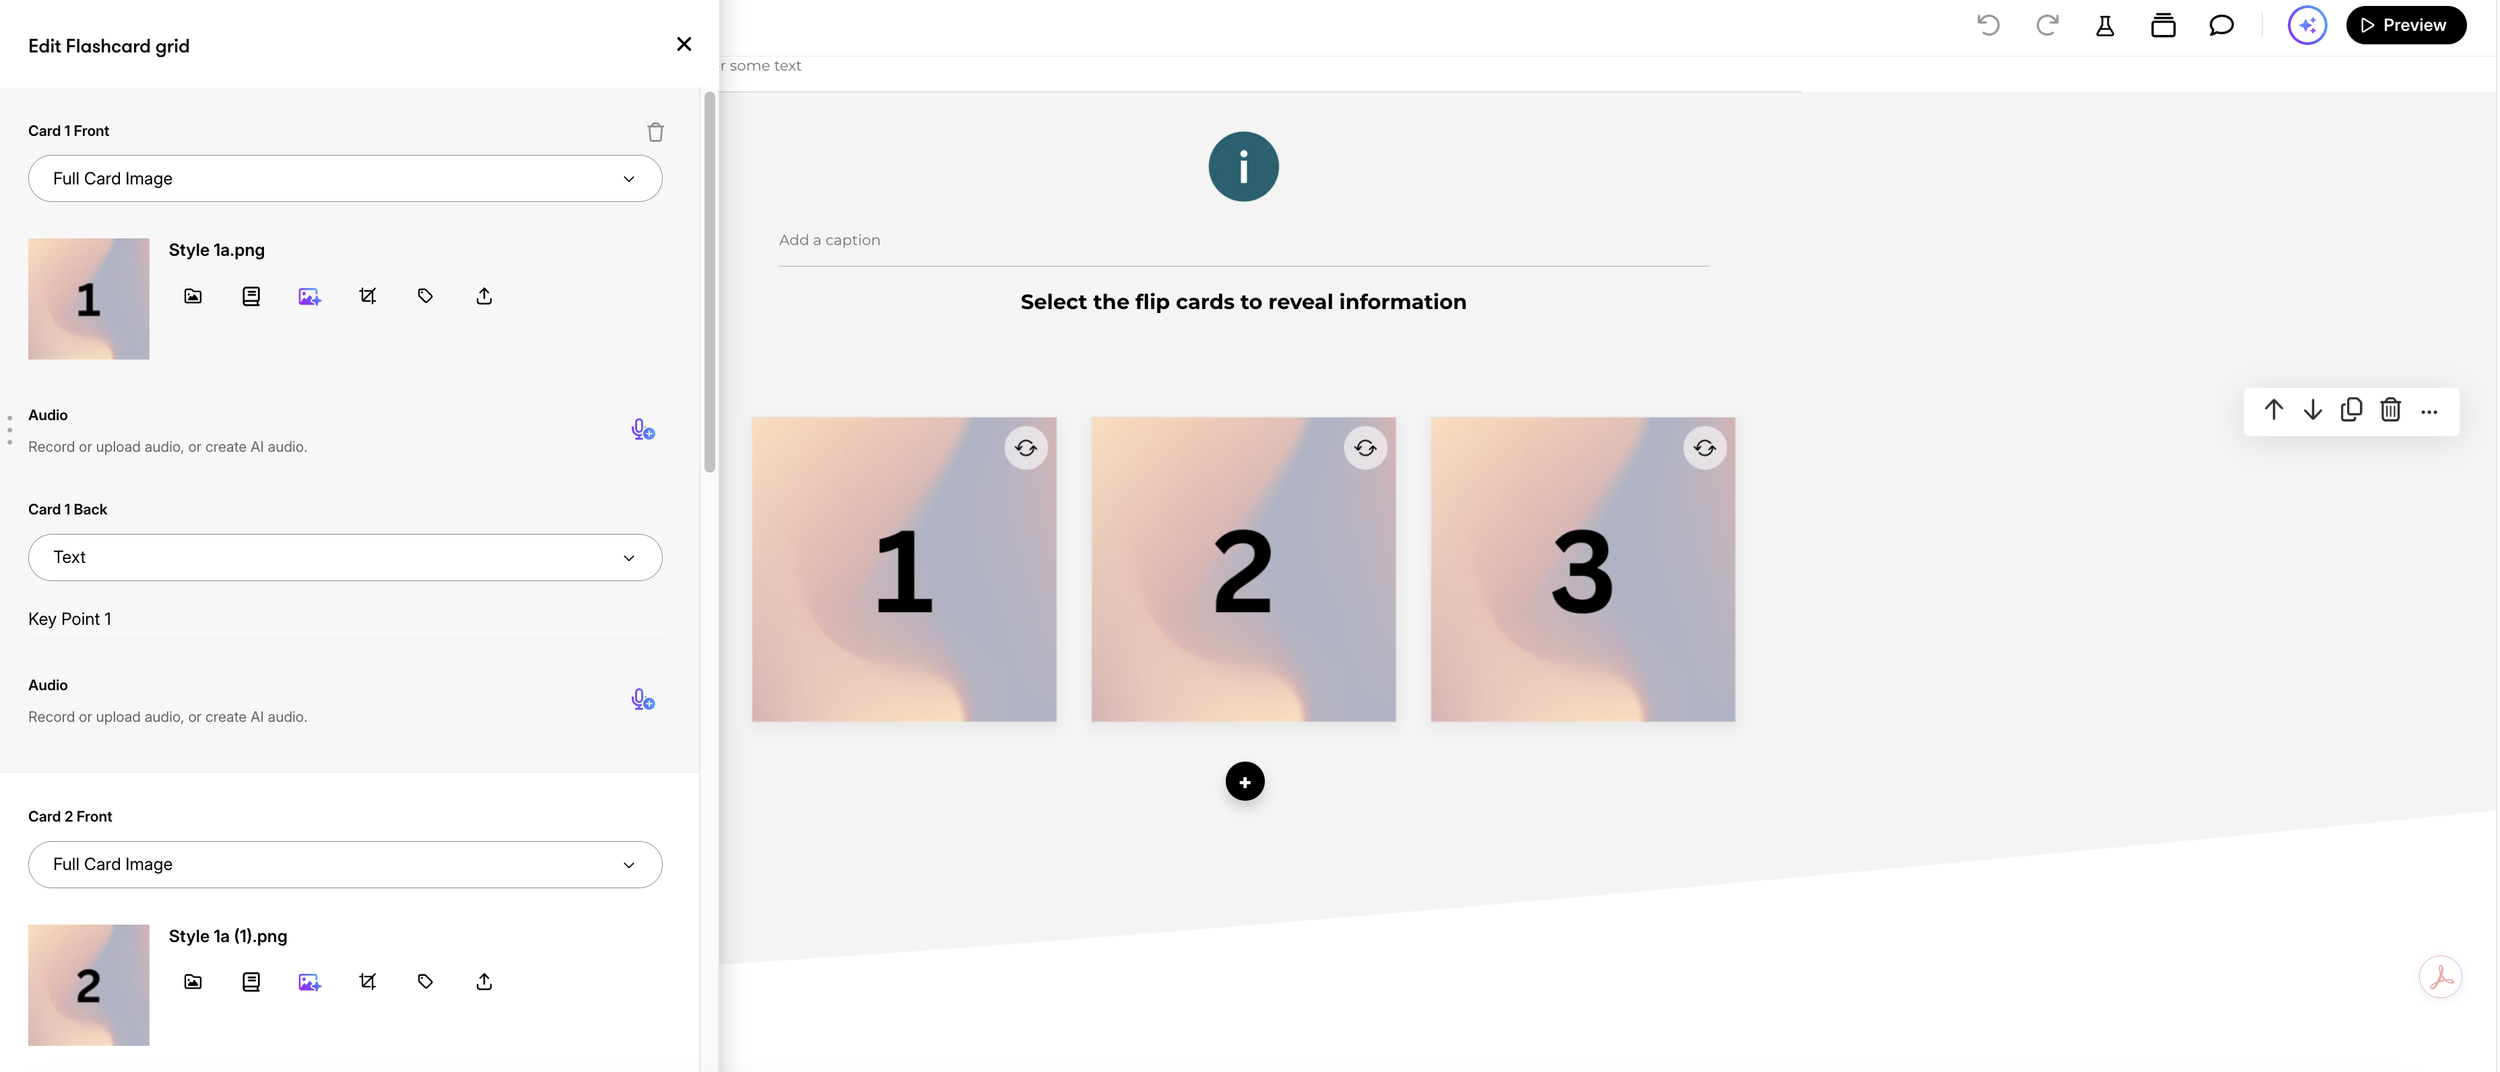
Simply upload the existing JPEG or PNG files - ensure to add ALT text for wording and non-decorative information!
Get Your Free Canva Flashcard Template Link!
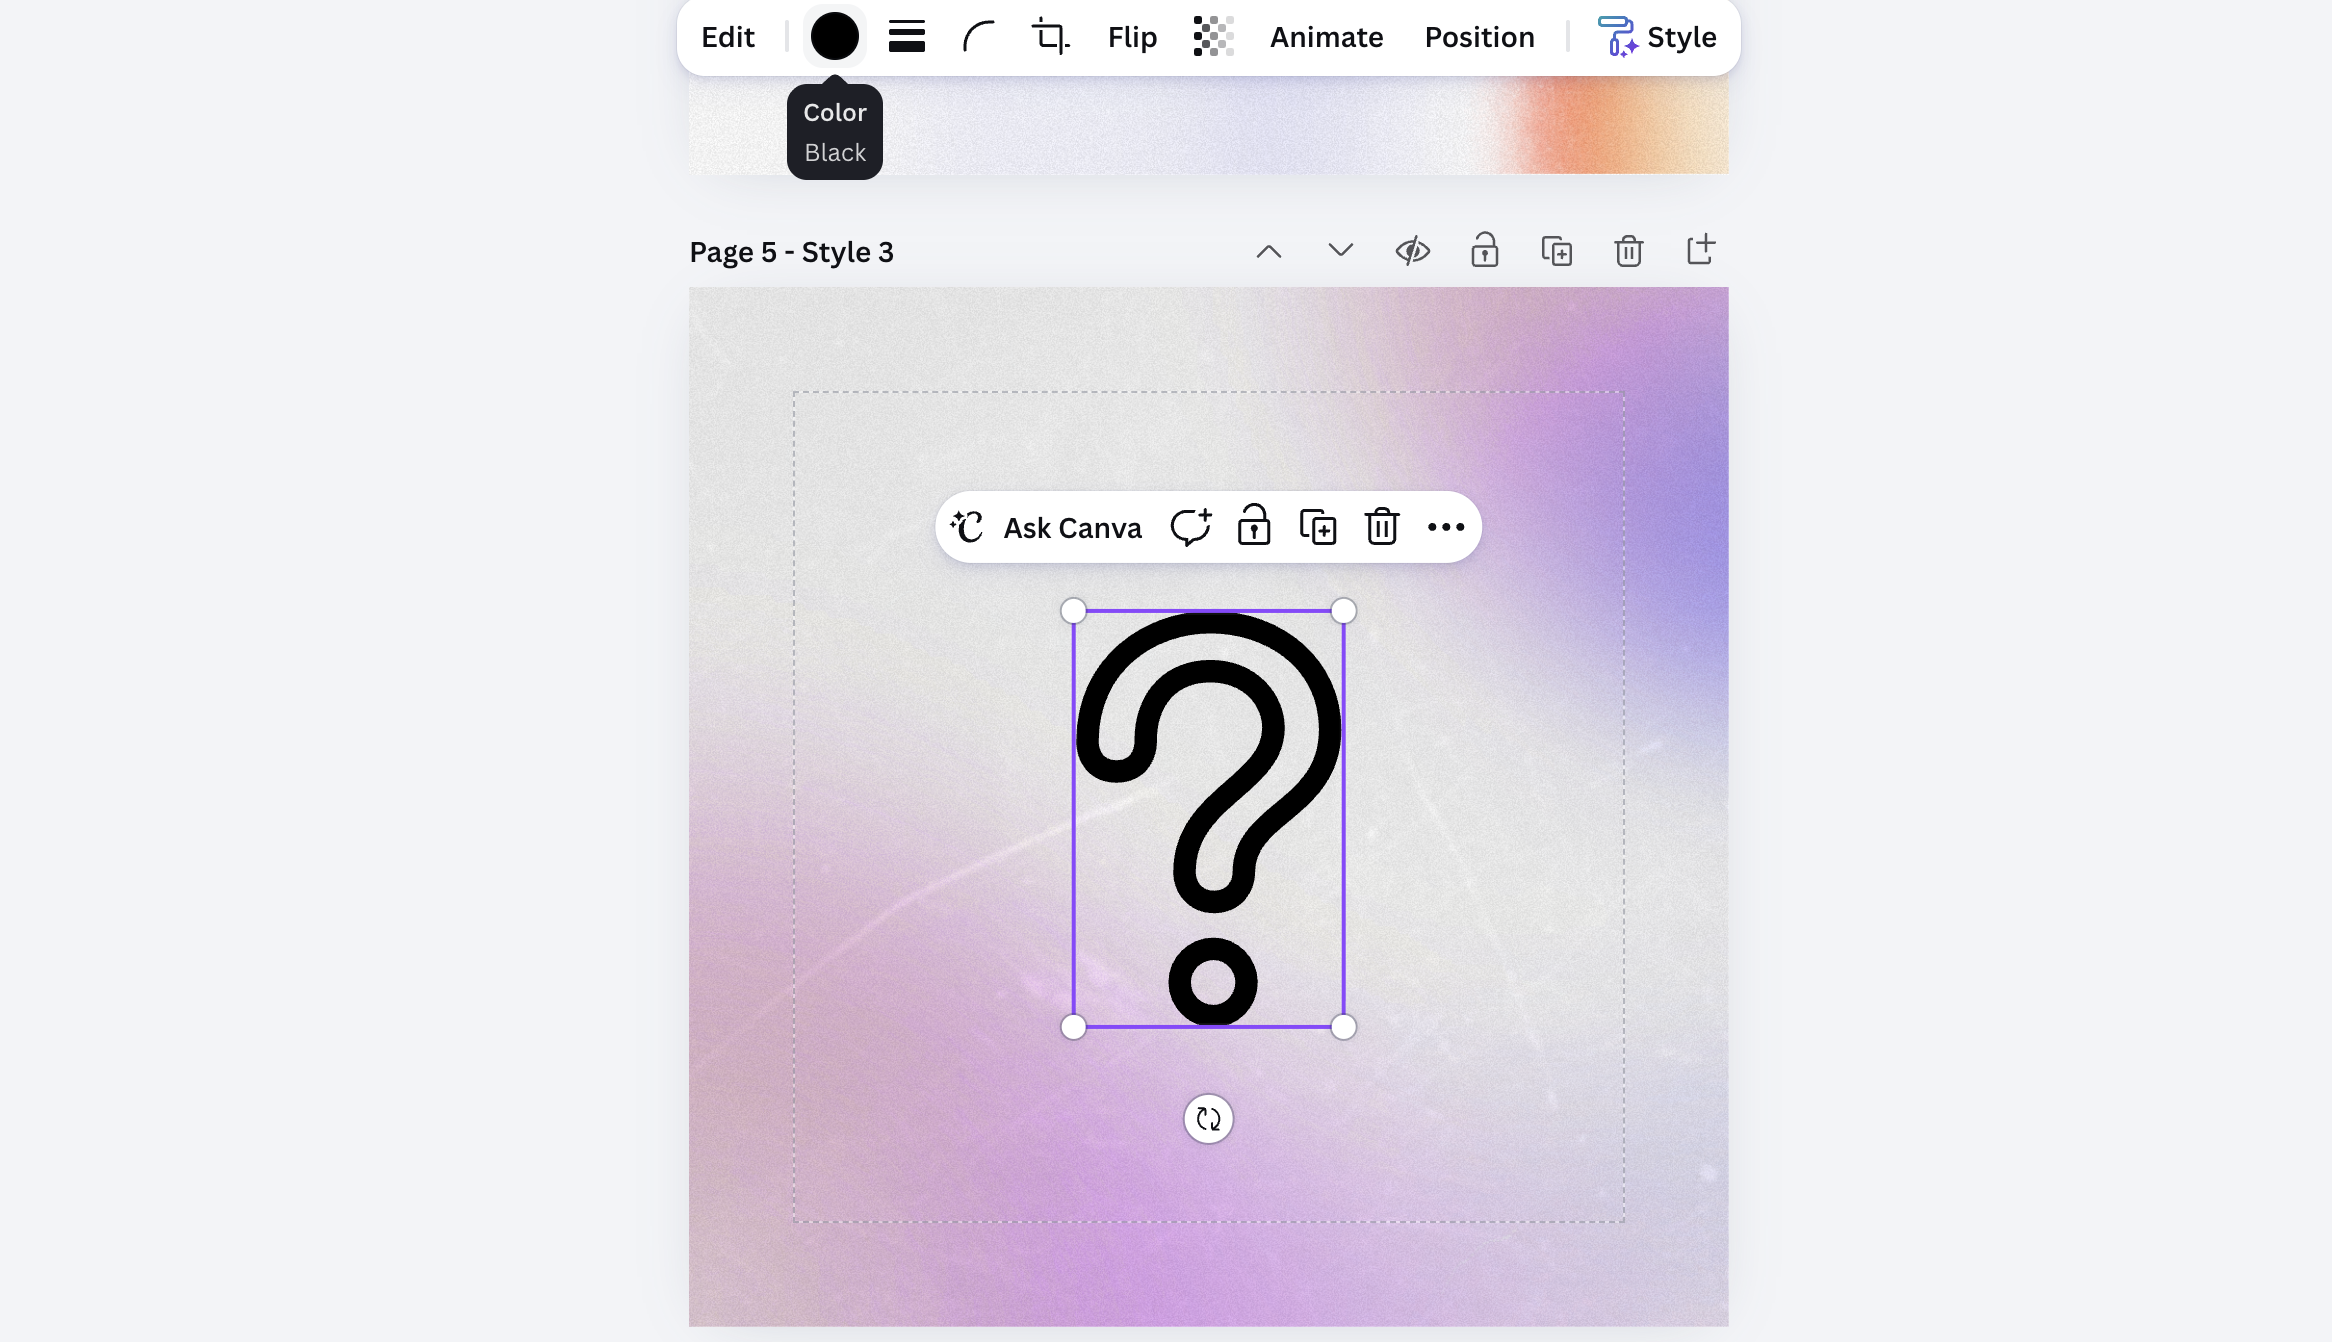
This template is fully customisable - edit colours, background and fonts to match your brand!
You don't need Canva Pro to make this, but sometimes you just want to skip the setup.
To help you get started even faster, we have created a reusable Canva template link that includes the exact dimensions, gradient style, and clean layout used in my screenshot example.
To get your free template link delivered instantly, just sign up below! You can then immediately copy the template into your own Canva account and start customising.