Custom banners & joiners for Articulate Rise 360
Custom banners & joiners for Articulate Rise 360
How to Create Custom Banners and Seamless Joiners in Articulate Rise
If you have used Articulate Rise for a while, you know how easy it is to assemble sleek e-learning modules. But you might also notice that standard Rise courses can end up looking a bit uniform. One of the best ways to elevate your course design—making it feel like a bespoke web experience rather than a template—is by adding custom banners, section dividers, and seamless background joiners.
In this guide, based on our video tutorial, we will walk you through setting up your design files, exporting them correctly, and inserting them into Rise without annoying alignment gaps.
Step 1: Set Up Your Design File
You can use your favorite graphics editor, such as Adobe Illustrator or Canva, to create your visual assets. The key to crisp visuals across different screens lies in getting the dimensions right:
Section Joiners: Set your canvas to 1134 x 126 px.
Main Banners: Start with a baseline size of 2500 x 580 px. You can adjust the height depending on your layout, but keep the width at least 1000 pixels or higher to maintain clarity on wide desktop monitors.
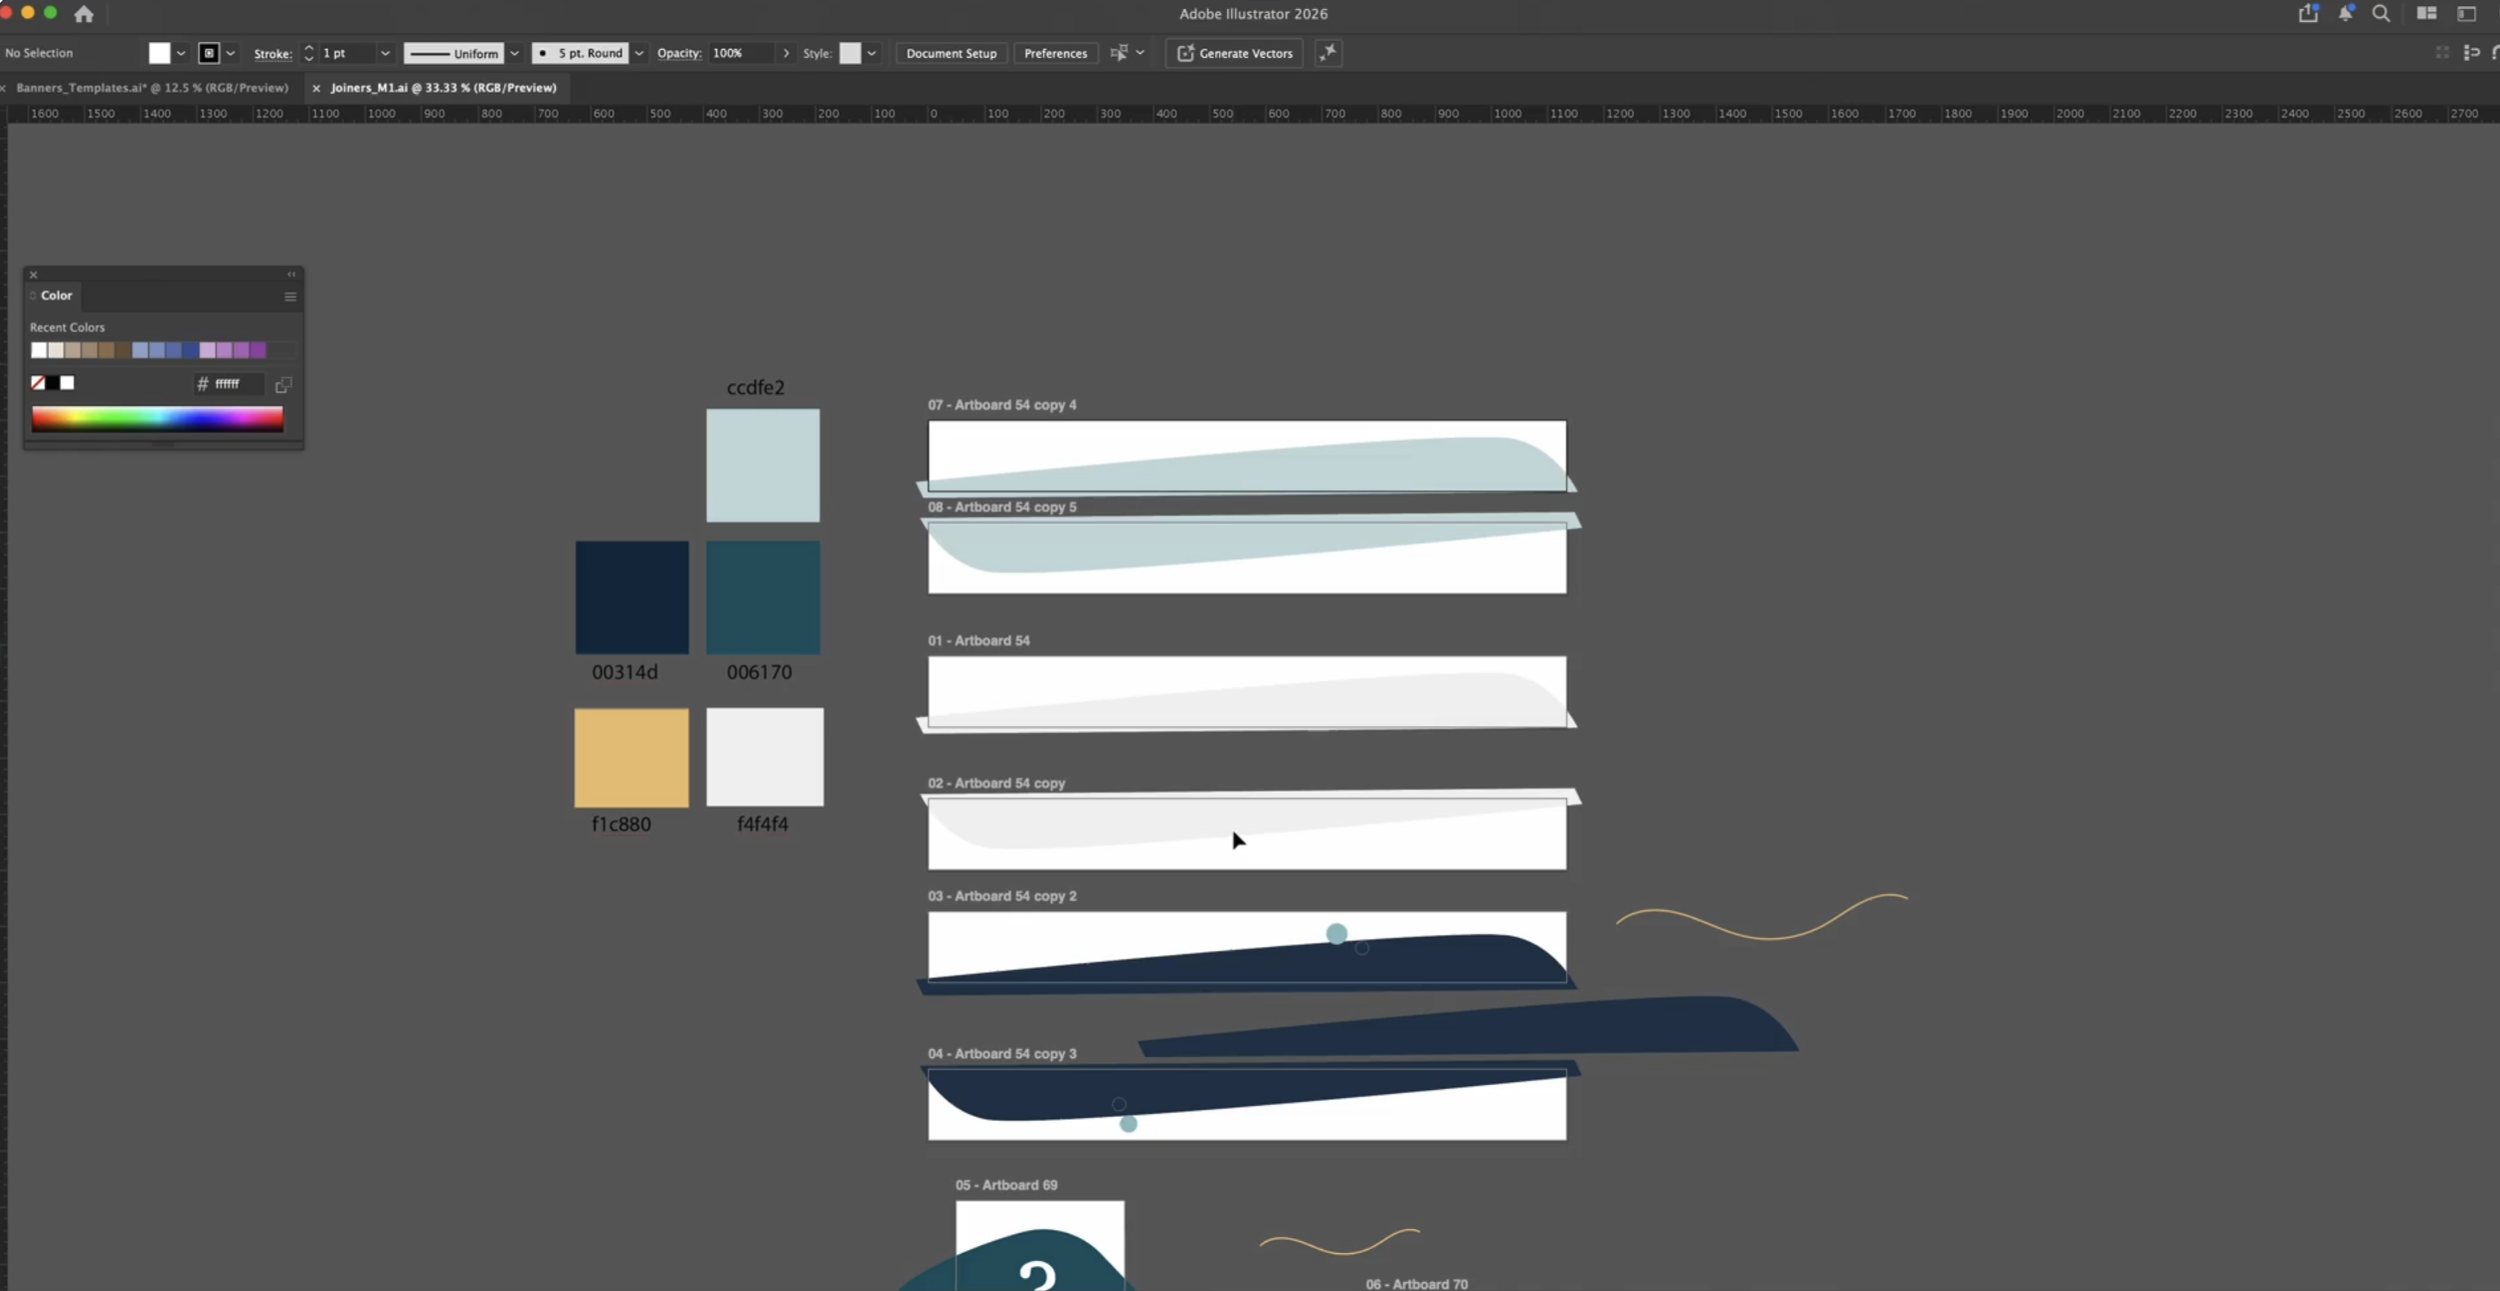
See above I have created my top and bottom joiner banners in Adobe Illustrator, but you can also create this is in any design program like Canva or Affinity.
Step 2: Export with Transparency
Once your graphic shapes or curved joiner elements are ready, export them properly to ensure flexibility inside Rise:
Export your files as PNG or SVG.
Ensure the background is set to transparent.
Using a transparent background allows your decorative shapes to overlay cleanly onto whatever background colour you assign inside Articulate Rise.
Step 3: Insert Graphics into Rise & Remove Padding
Now it is time to assemble your custom look inside Articulate Rise:
Grab the Hex Code: Open the settings of the custom block you want to join and copy its exact background hex color code so your graphics match perfectly.
Add an Image Block: Insert a new Image Full Width block directly above or below your section.
Upload Your Asset: Replace the default photo with your newly exported PNG or SVG file.
Eliminate Gaps: Open the block's Format menu. If your joiner sits above a block, set the Bottom Padding to 0. If your joiner sits below, set the Top Padding to 0. This forces your graphic to butt up perfectly against the adjoining block with zero white space.
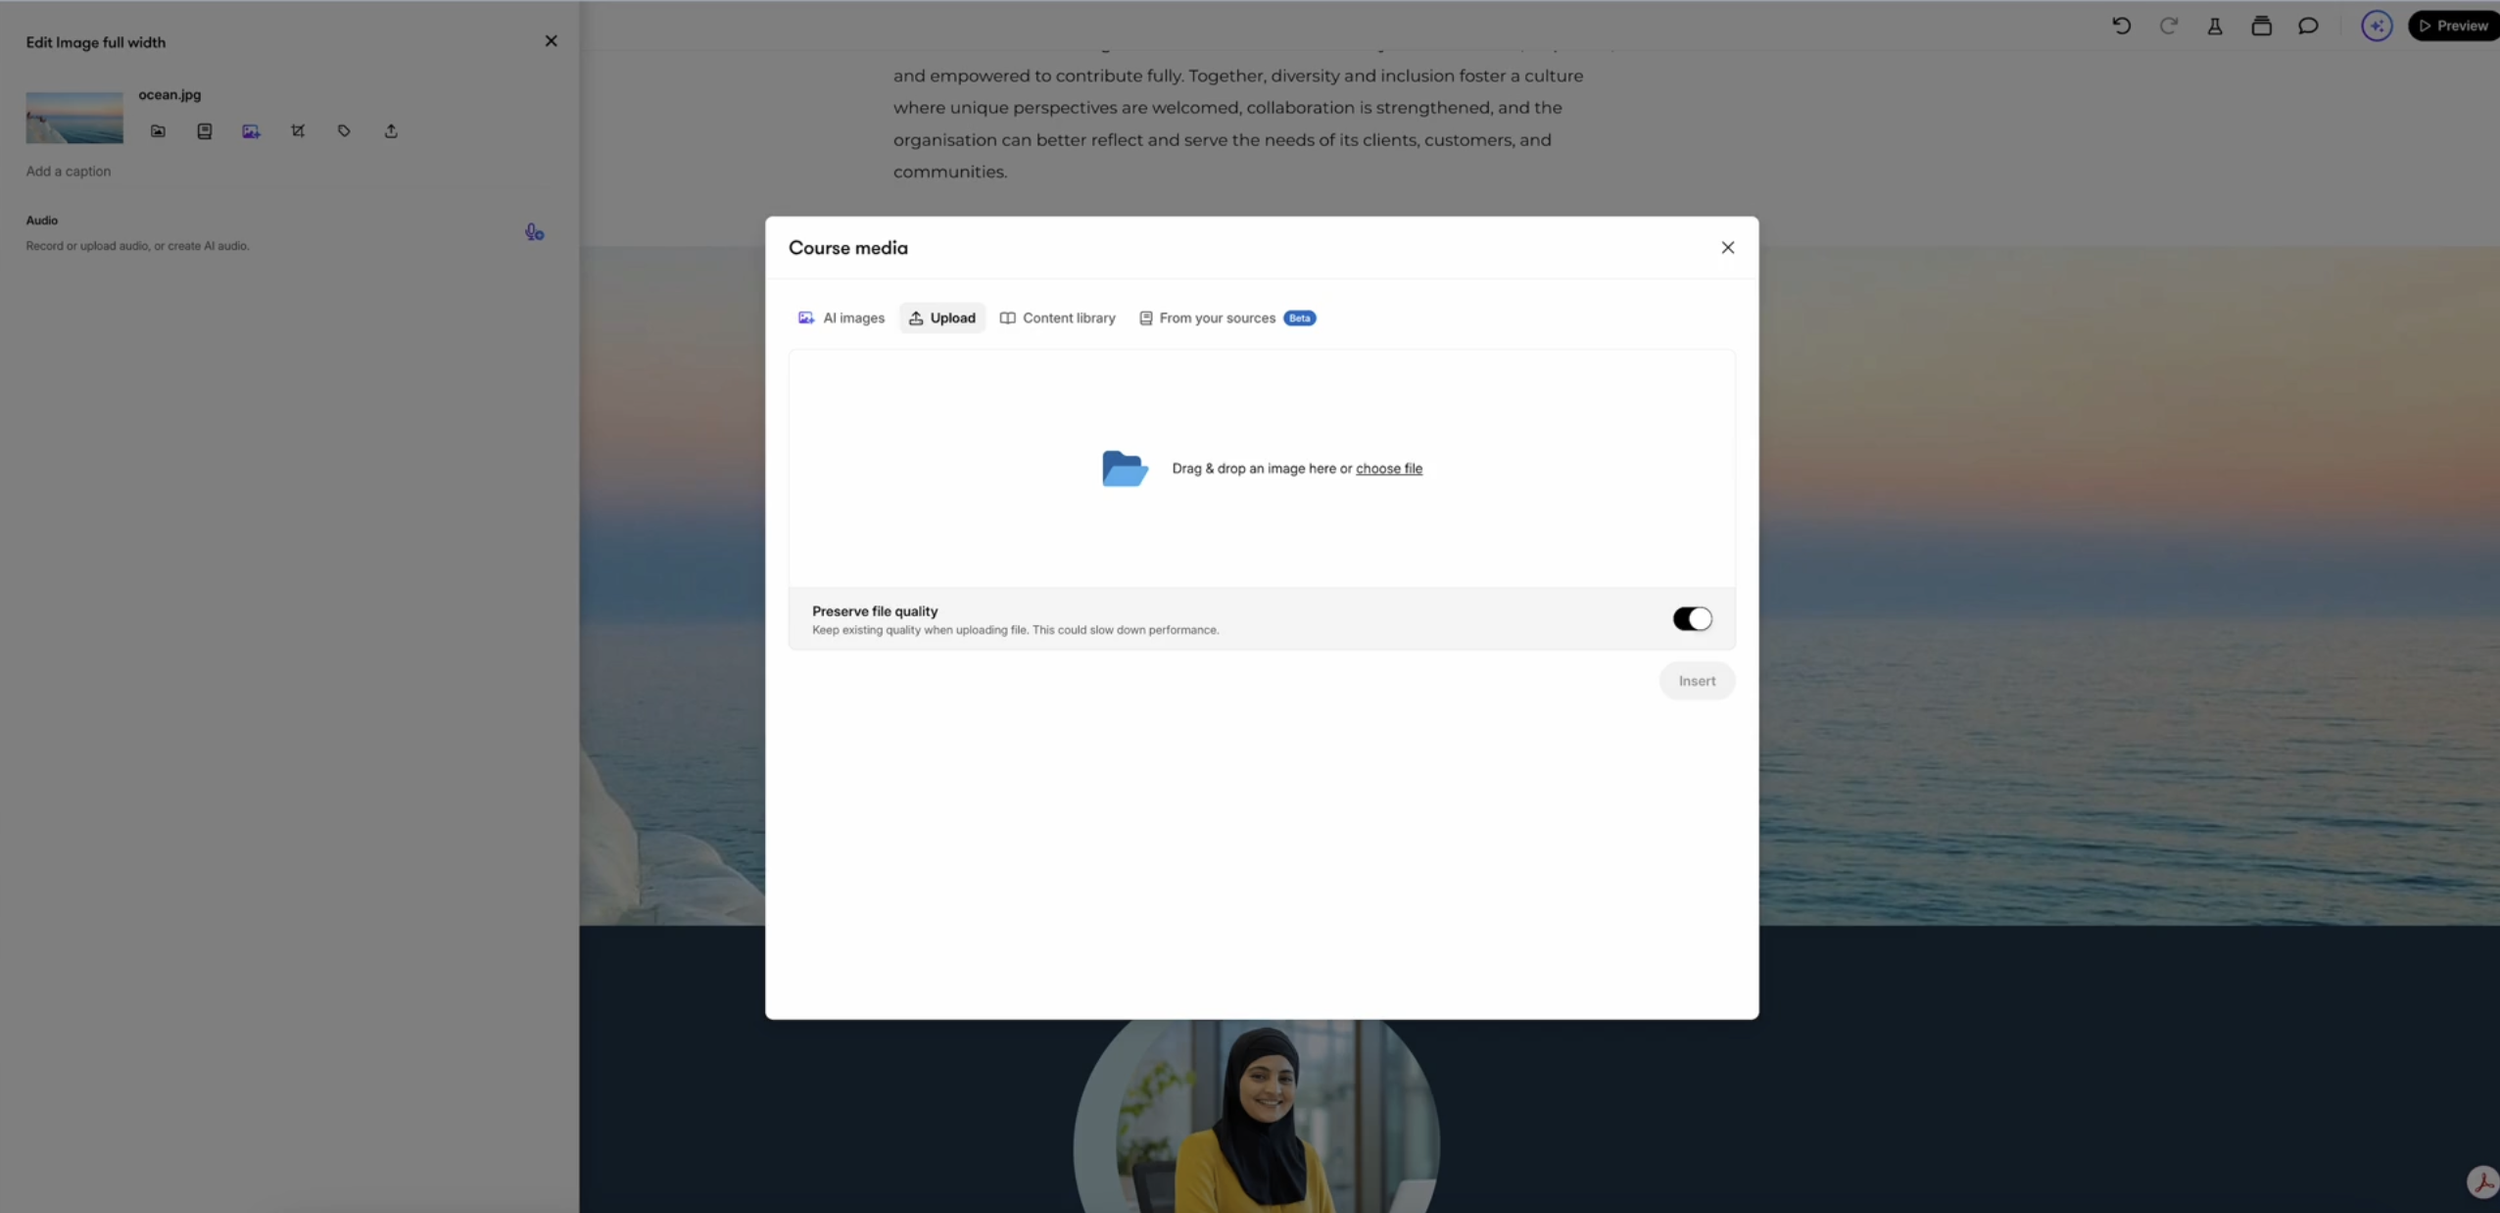
After inserting a full width image, I am uploading my PNG or SVG into Rise.
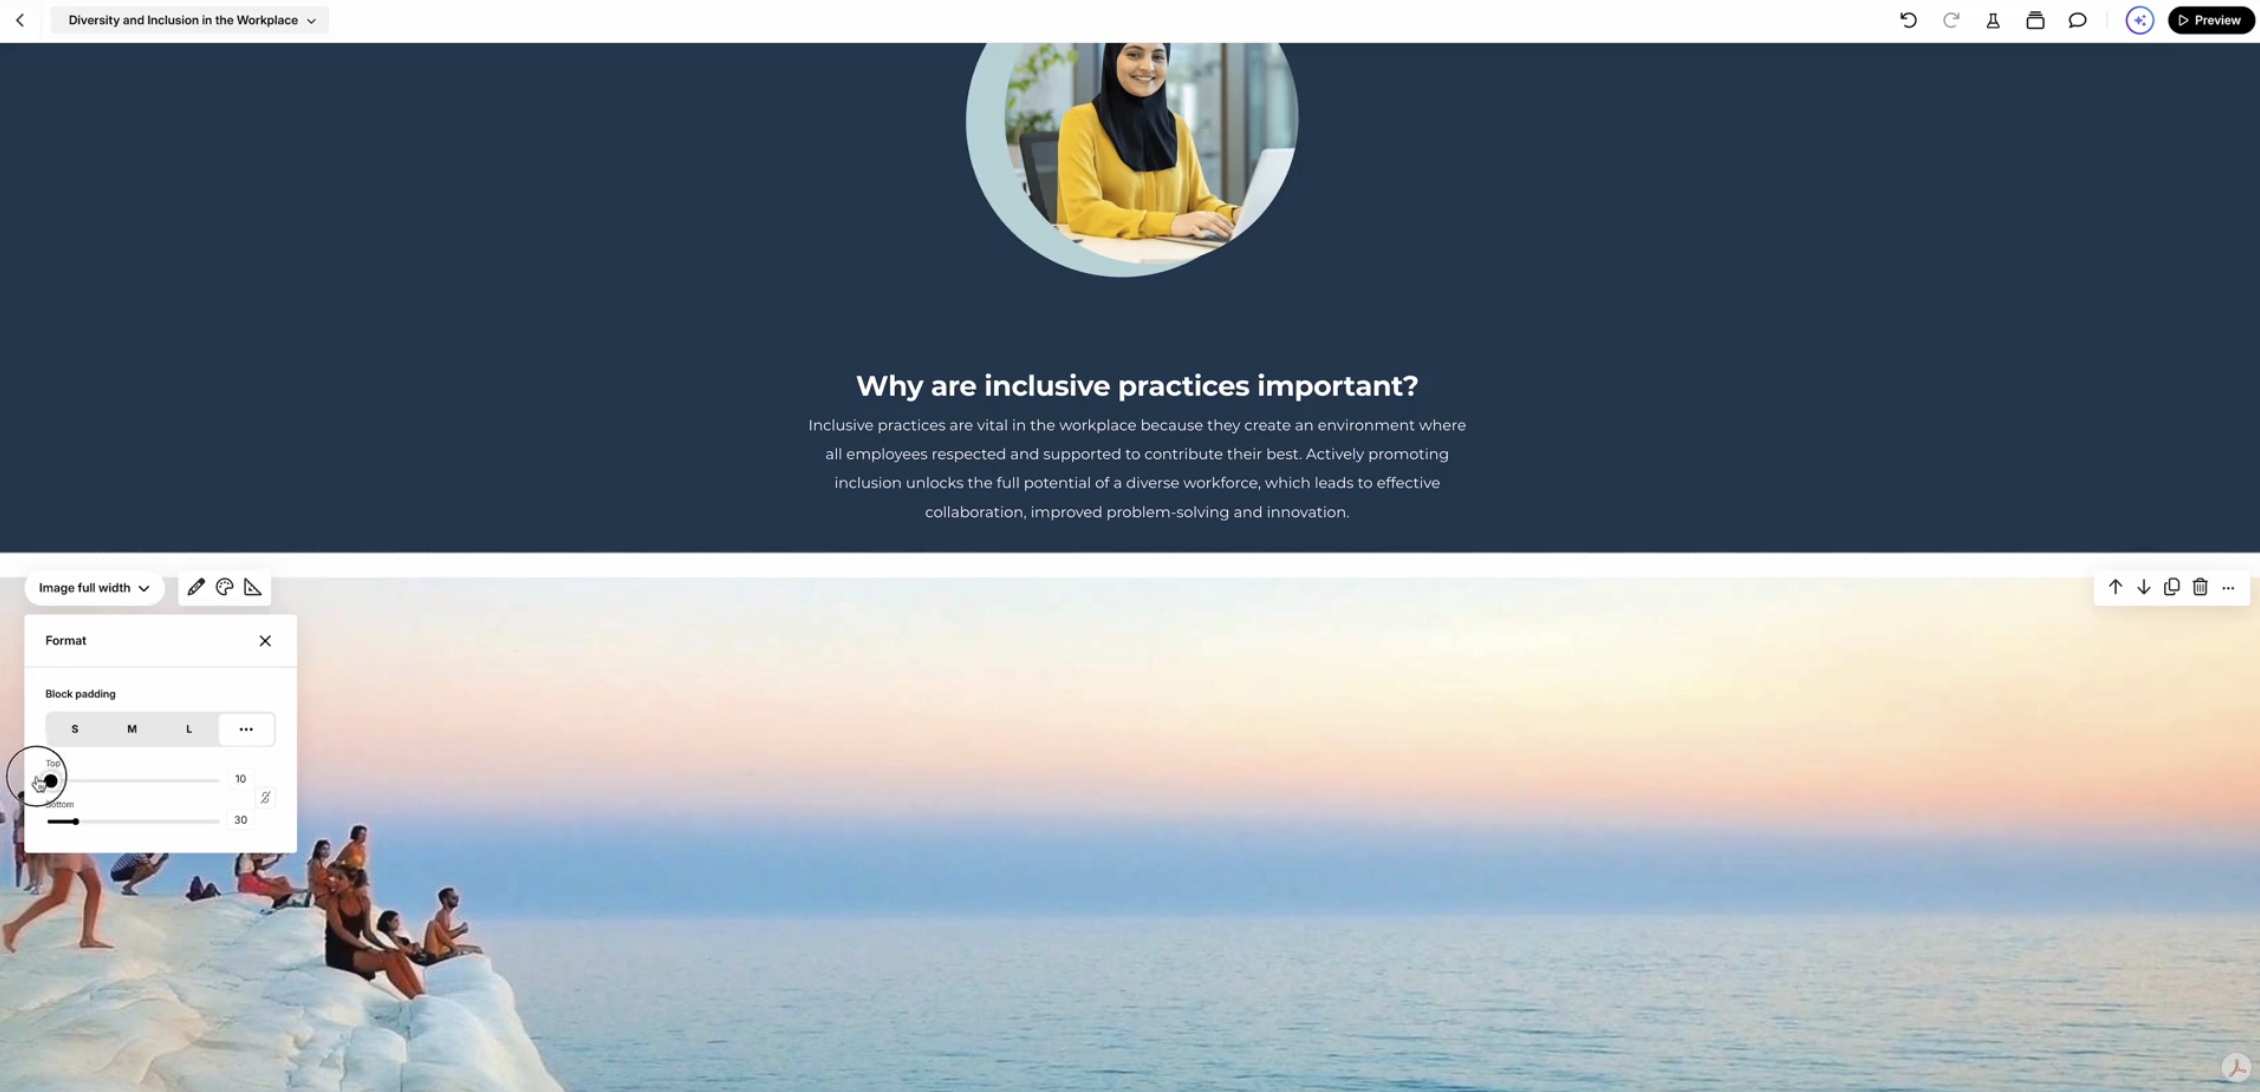
Ensure for the top banner that the ‘bottom’ padding is 0, and for the base banner the ‘top’ padding is 0.
Step 4: Test in Preview Mode
Rise courses are fully responsive, meaning elements shift depending on screen size. Always open Preview Mode to check your layout across multiple views:
Desktop view
Tablet (portrait and landscape)
Mobile (portrait and landscape)
Double-check that your curved or angled graphics sit naturally against the adjacent content blocks on mobile views. Occasionally, intricate graphic motifs require minor tweaks in your original design template so they look balanced on smaller portrait screens.
Ready to Customise Your Next Course?
By adding transparent joiners and adjusting block padding, you can transform standard block layouts into fluid, modern learning experiences.
What design software do you prefer for creating e-learning assets—Illustrator, Canva, or something else?