Create a Timeline Interaction in Articulate Storyline 360
Create a Timeline Interaction in Articulate Storyline 360
How to Design an Interactive Timeline in Articulate Storyline 360
Adding interactive elements to your e-learning courses is one of the best ways to keep learners engaged and chunk information effectively. Timelines, in particular, are perfect for breaking down sequential processes, growth paths, or historical events into digestible pieces.
In this tutorial, we’ll show you step-by-step how to create a sleek, interactive timeline interaction in Articulate Storyline 360 using states, slide layers, and basic triggers.
How the Timeline Interaction Works
Before diving into the setup, let's look at the learner experience:
The slide displays a horizontal timeline with multiple circular interactive points.
When a learner clicks a specific circle on the timeline, a corresponding layer reveals detailed text and a supporting image.
Once clicked, the circle indicator updates to a Visited state (showing a checkmark), letting learners track their progress across the timeline.
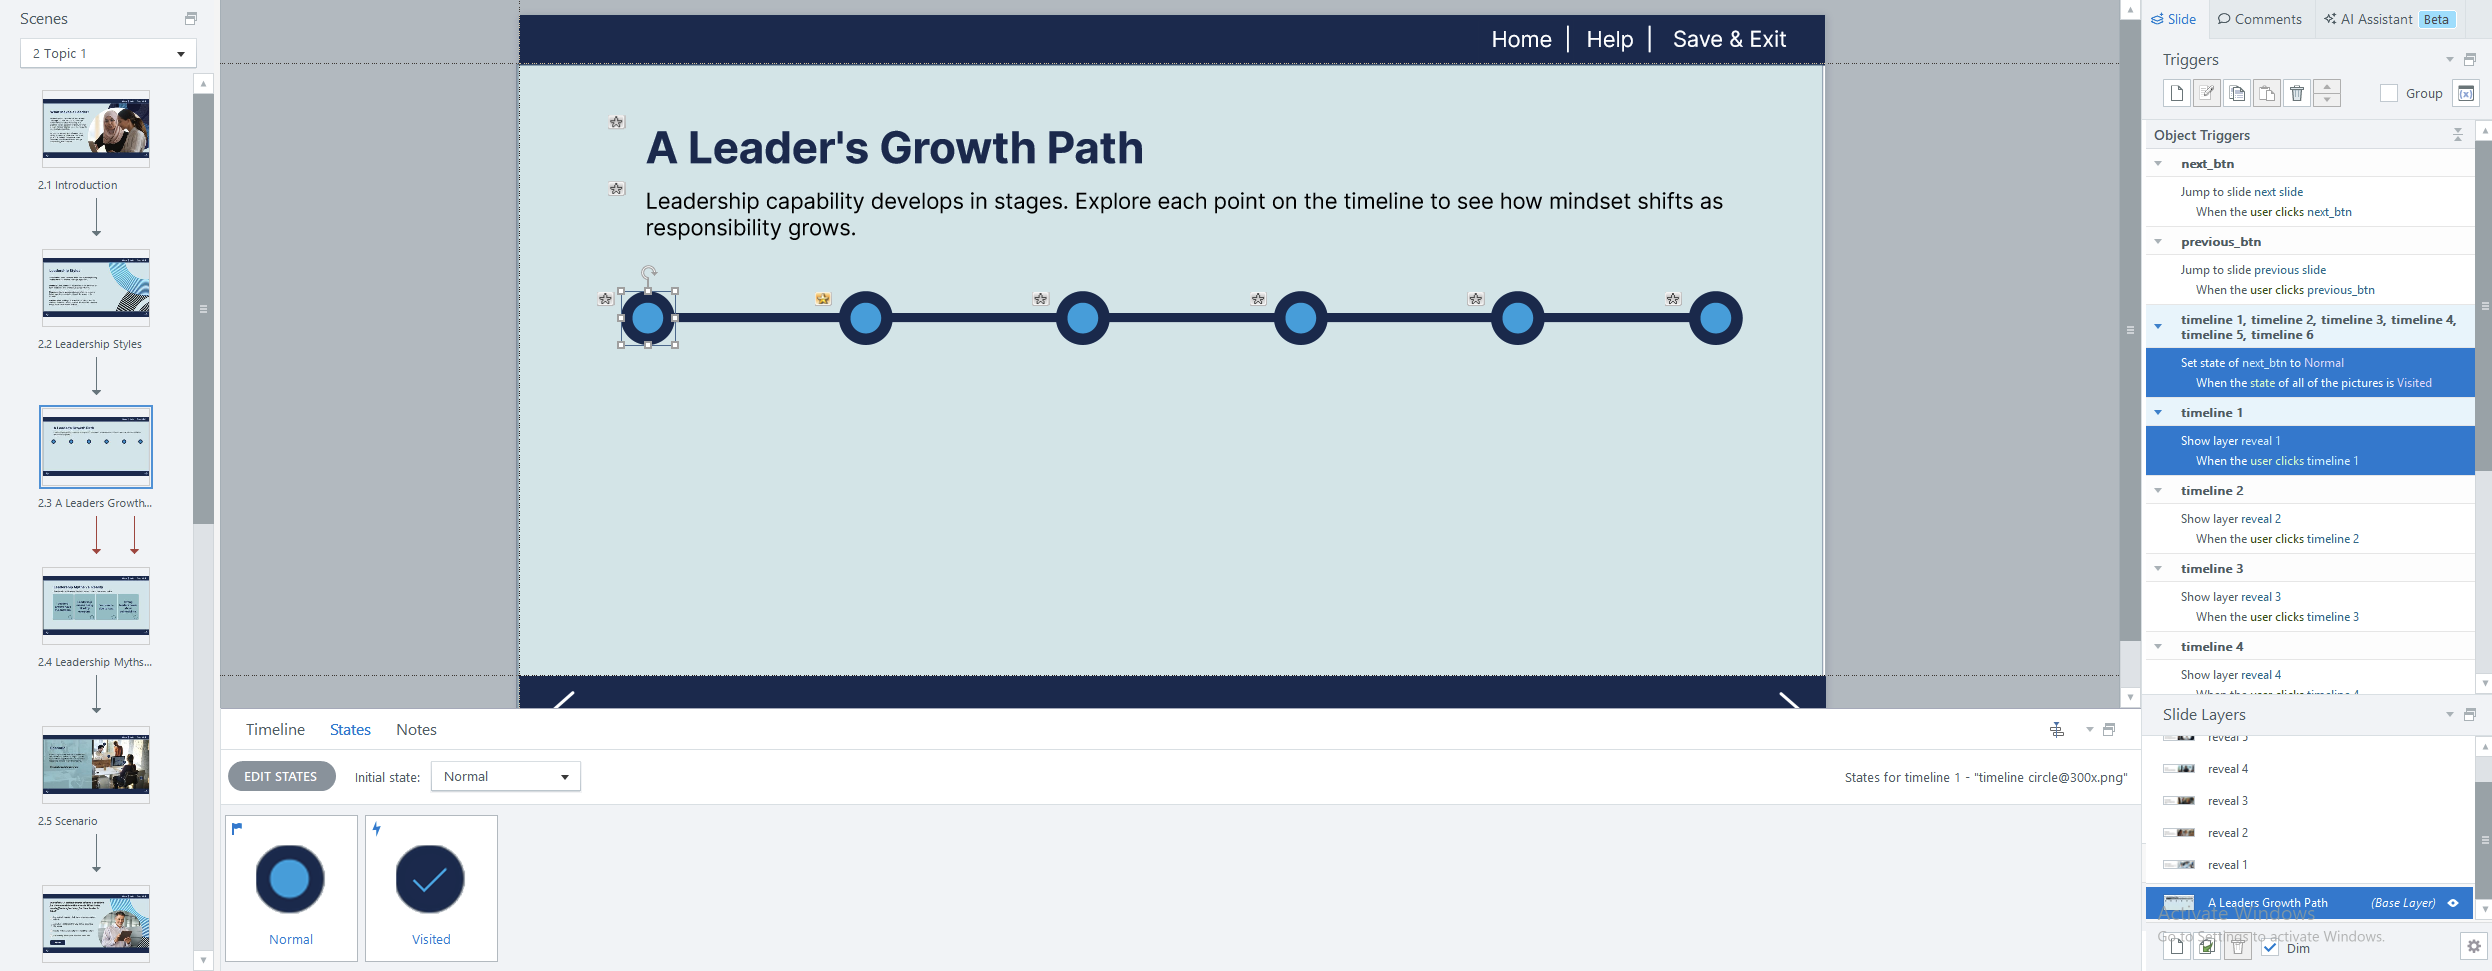
Setting up states for your buttons such as a completed / visited state, guides the learner on their progress in the interaction
Step 1: Set Up Your Page Elements
To build this interaction, you need to structure your slide elements clearly:
Header & Intro Text: Add a main title (e.g., A Leader's Growth Path) and brief instructions directing the user to click through the points.
Timeline Base: Draw a simple horizontal line across the slide to serve as the visual spine.
Timeline Buttons: Place circular shapes along the line to act as your interactive nodes.
Custom States: Select a circle button, open the States panel, and add a Visited state featuring a checkmark icon. Repeat or copy this format across all your timeline buttons.
Pro-Tip: Proper naming conventions save tons of time! Rename your timeline buttons sequentially in the timeline panel (Timeline 1, Timeline 2, Timeline 3, etc.) so they are easy to reference later.
Step 2: Create Your Slide Layers
Next, build the content layers that will be revealed when learners click each timeline point:
Open the Slide Layers panel in the bottom-right corner.
Create a layer for each node on your timeline (e.g., Reveal 1, Reveal 2, Reveal 3, etc.).
On each layer, add your detailed text (such as role titles and descriptions) along with an accompanying image or graphic.
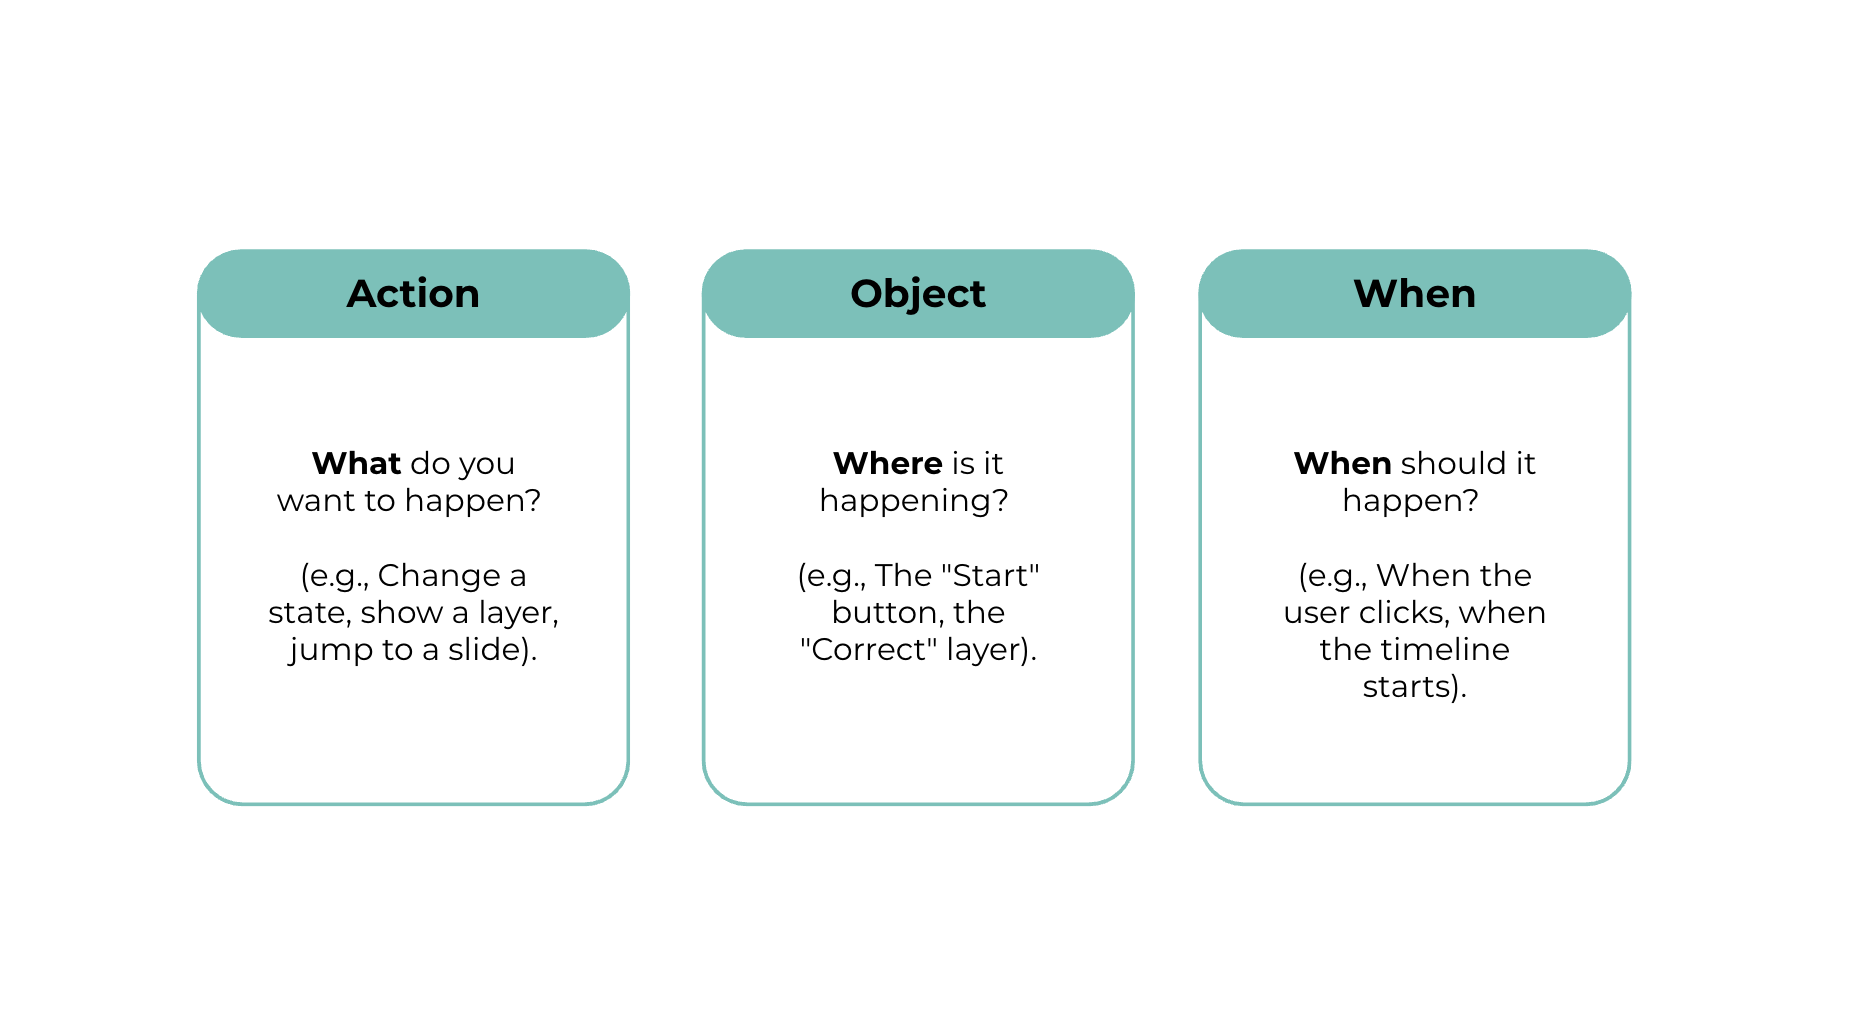
Trigger setup: Action, Object, When
Step 3: Configure Triggers & Layers
With your buttons and layers prepared, it’s time to hook up the interactivity using triggers.
This interaction uses a simple Click-to-Reveal structure. Every trigger needs three core components:
Action: What do you want to happen? (e.g., Show layer)
Object: Where is it happening? (e.g., Layer 'Reveal 1')
When: When should it happen? (e.g., User clicks 'Timeline 1')
Setting Up the Trigger:
Open the Triggers panel on the right side of your screen.
Click Create a new trigger.
Set the parameters:
Action: Show layer
Layer: Reveal 1
When: User clicks
Object: Timeline 1
Repeat this exact structure for each remaining point on your timeline (Timeline 2 reveals Reveal 2, and so on).
Final Result
Once your triggers are assigned, preview your slide! When learners click through each point, Storyline will automatically display the correct content layer and mark each completed node with a checkmark.
Download this FREE storyline template here
Want More E-Learning Tips?
If you found this tutorial helpful, check out our YouTube video for the full visual walkthrough.